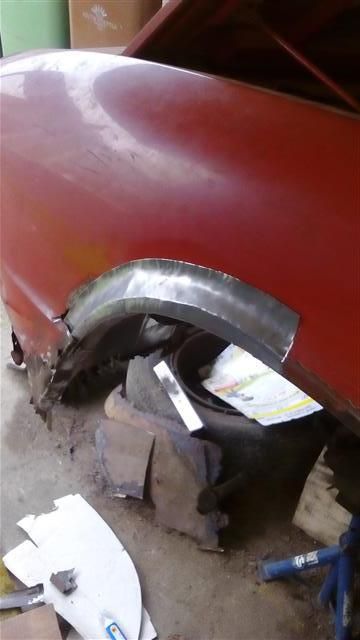
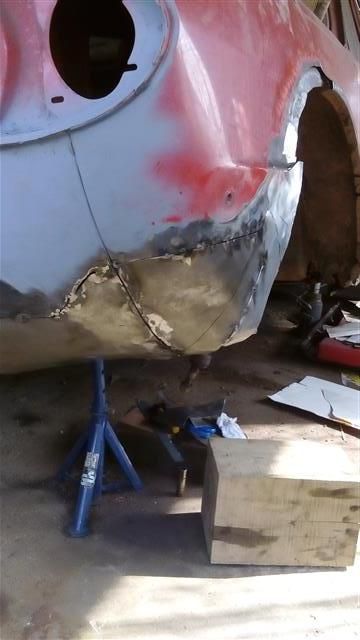
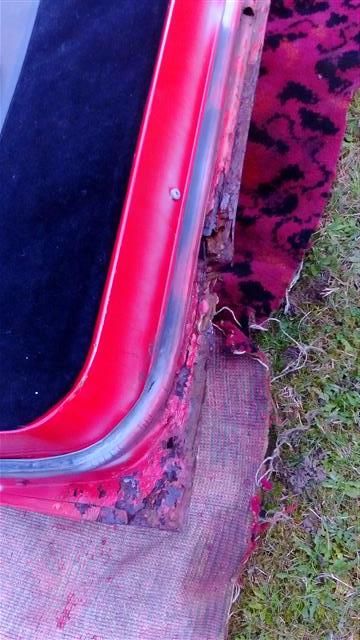
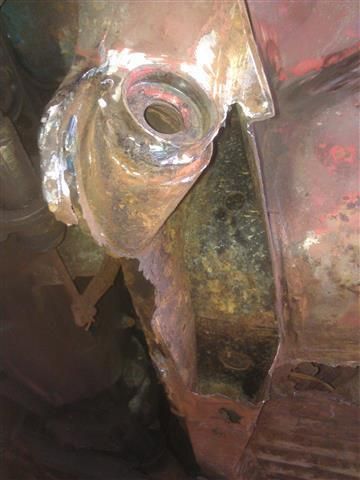
Started on the nsf corner, by far the worst area. Started cutting out the rot, decided that it would be easier to remove the suspension to get into the areas more easily.
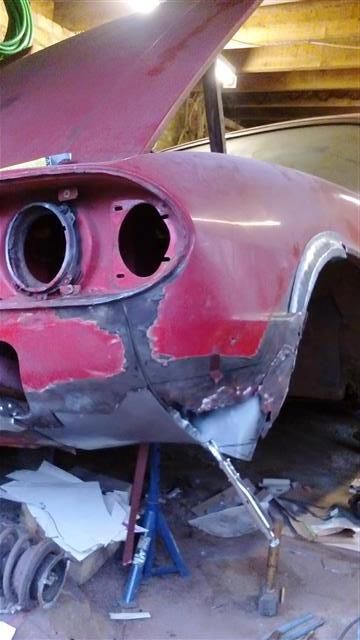
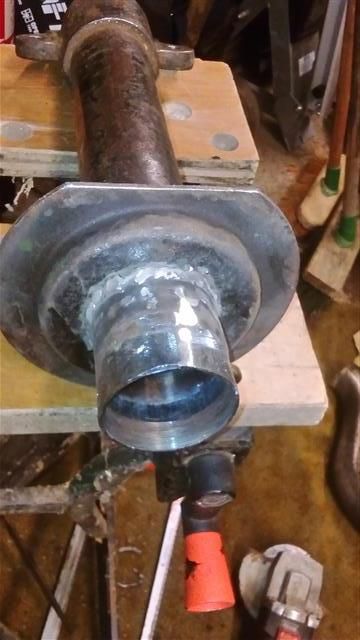
I'm thinking I need to put a bit in here before I cut anymore out. It's not moving at the moment but I'm not sure on removing the suspension mount, I can weld it back in no problem I'm just not sure how critical it is if its a few mm out, would the bushes absorb this difference?
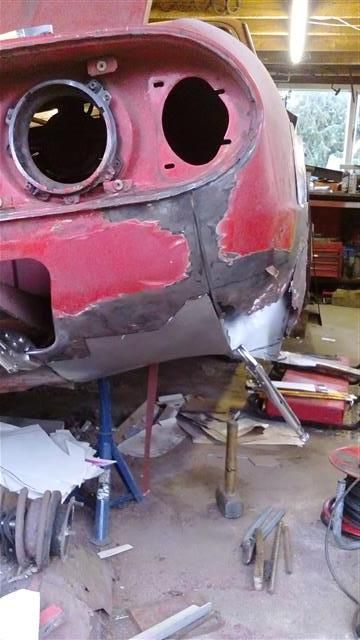
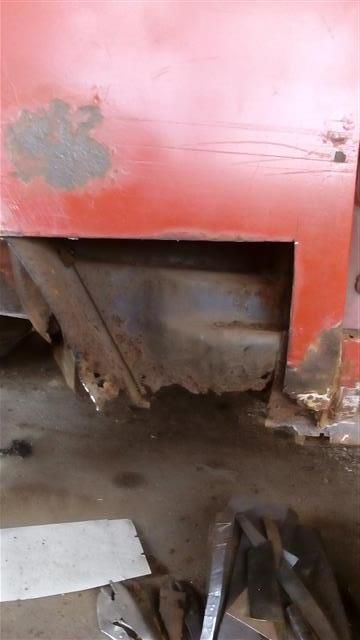
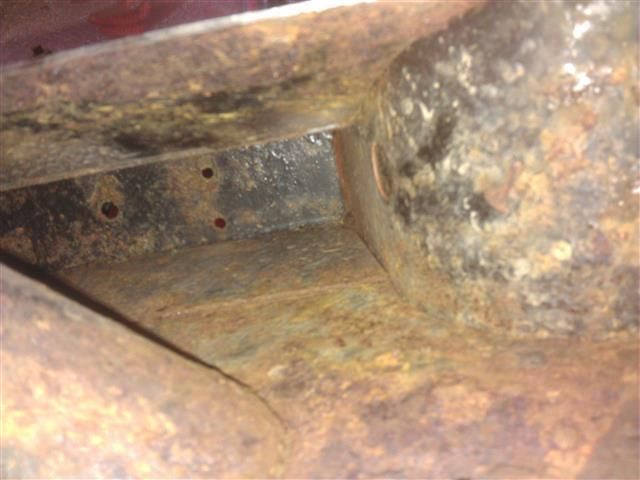
Chassis rail still needs to cut back further. I wonder if it's worth just doing the whole thing in new tbh.
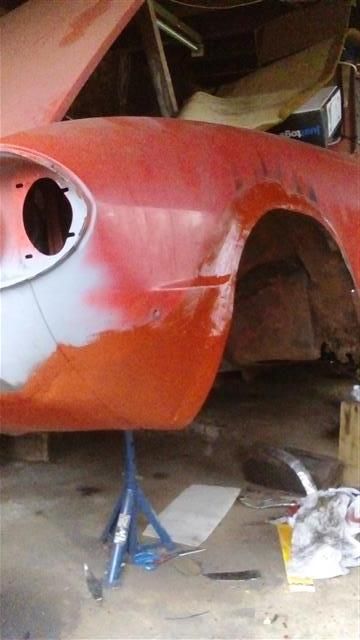
It's pretty good up there, still original paint, although with light surface rust. I think I can get a wire brush up there but any tips/suggestions for surface coating bearing in mind that I will be welding close by? Maybe just waxoil or similar once new steel is in...
I've started making my cardboard templates so I can cut the steel and hopefully make a good fit before I go to weld. I'm waiting to see how far Lloyds floor sections will extend before I cut that area any further.
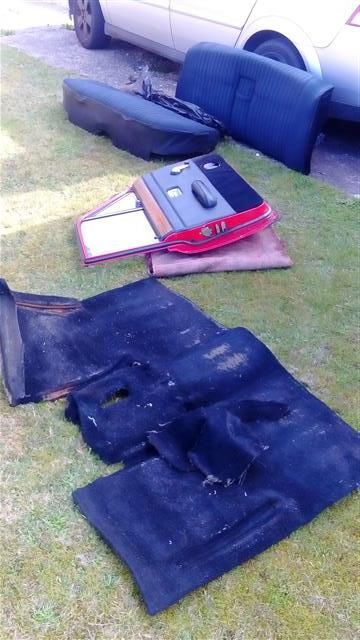
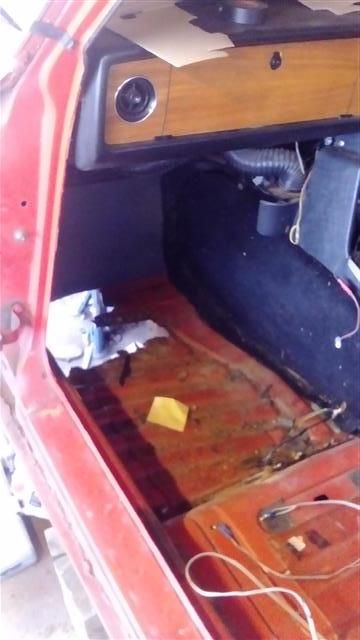
Passenger seat removed but I think I should really take out the rest of it, and the centre console.
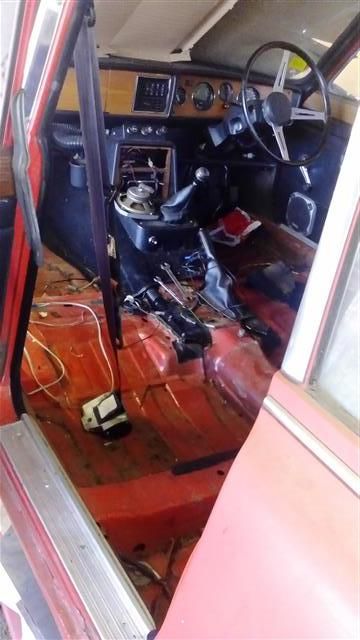
Any tips for protecting the glass and the headlining from grinding sparks and possibly weld spatter?
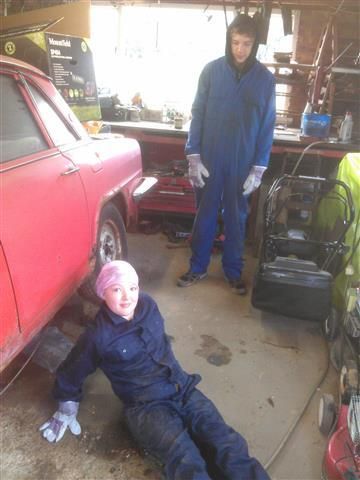
my helpers / hinderers for some of the day.